
When it comes to site performance, each byte counts. I remember reading somewhere that a one-second page slowdown can cost 7% in conversions. I mean, picture having a site that looks terrific, but visitors flee because your site takes an eternity to load! It is very important you optimize WordPress images, by optimizing your photos, not only will your site become a pleasure to use, but you’re sending strong messages to search engines about your site’s usability and efficiency too!
Table of Contents
ToggleIn its native state, an image is a bloated file full of unnecessary extra data, colors, and metadata, and can slow your site down big-time. With Smush, however, you can compress, resize, and even convert your photos to next generation file types like WebP, all with no loss in picture quality. That’s a win for speedy page loads, SEO, and happy visitors.
What is Smush Plugin?
Smush is an amazing tool when it comes to optimize WordPress images. Written and coded by the reputable WPMU DEV crew, Smush has both free and a Pro version. Even in its free version, it’s incredibly powerful, with lossless compression and simple lazy loading. With its Pro version, however, comes additional feature such as lossy and ultra smush options, converting your photos to WebP, and even including a 123-point global CDN integration. In short, Smush sets out to make optimising WordPress photos about as simple and efficient a process as it possibly can.
I’ve used Smush with several of my sites and witnessed firsthand its capability to save a lot of file size, sometimes even 85%. Regardless of whether you have one site and are new to WordPress, or run a big multisite network, Smush simplifies your WordPress photos optimization and doesn’t require one to become a technology wizard.
How to Install and Set Up Smush
Getting started with Smush is simple. Let me guide you through the installation process step by step:
Log onto your WordPress dashboard, then navigate to Plugins > Add New, search for ‘Smush‘. Once you find it, click on Install Now and then Activate. Immediately after activation, you will notice a new Smush tab on the left-hand menu of your dashboard.

Clicking the Smush tab for the first time, you will be greeted by a setup wizard. The wizard is designed to configure Smush automatically on your website. It first prompts you with a friendly welcome message and you will be asked if you want to share anonymous usage data to help improve the plugin.
Then they asks whether you want to enable automatic image compression for all new uploads then to enable Super Smush to optimize images 2x more than regular smush. I recommend keeping both setting enabled, it ensures every image you add is optimized without any extra effort.
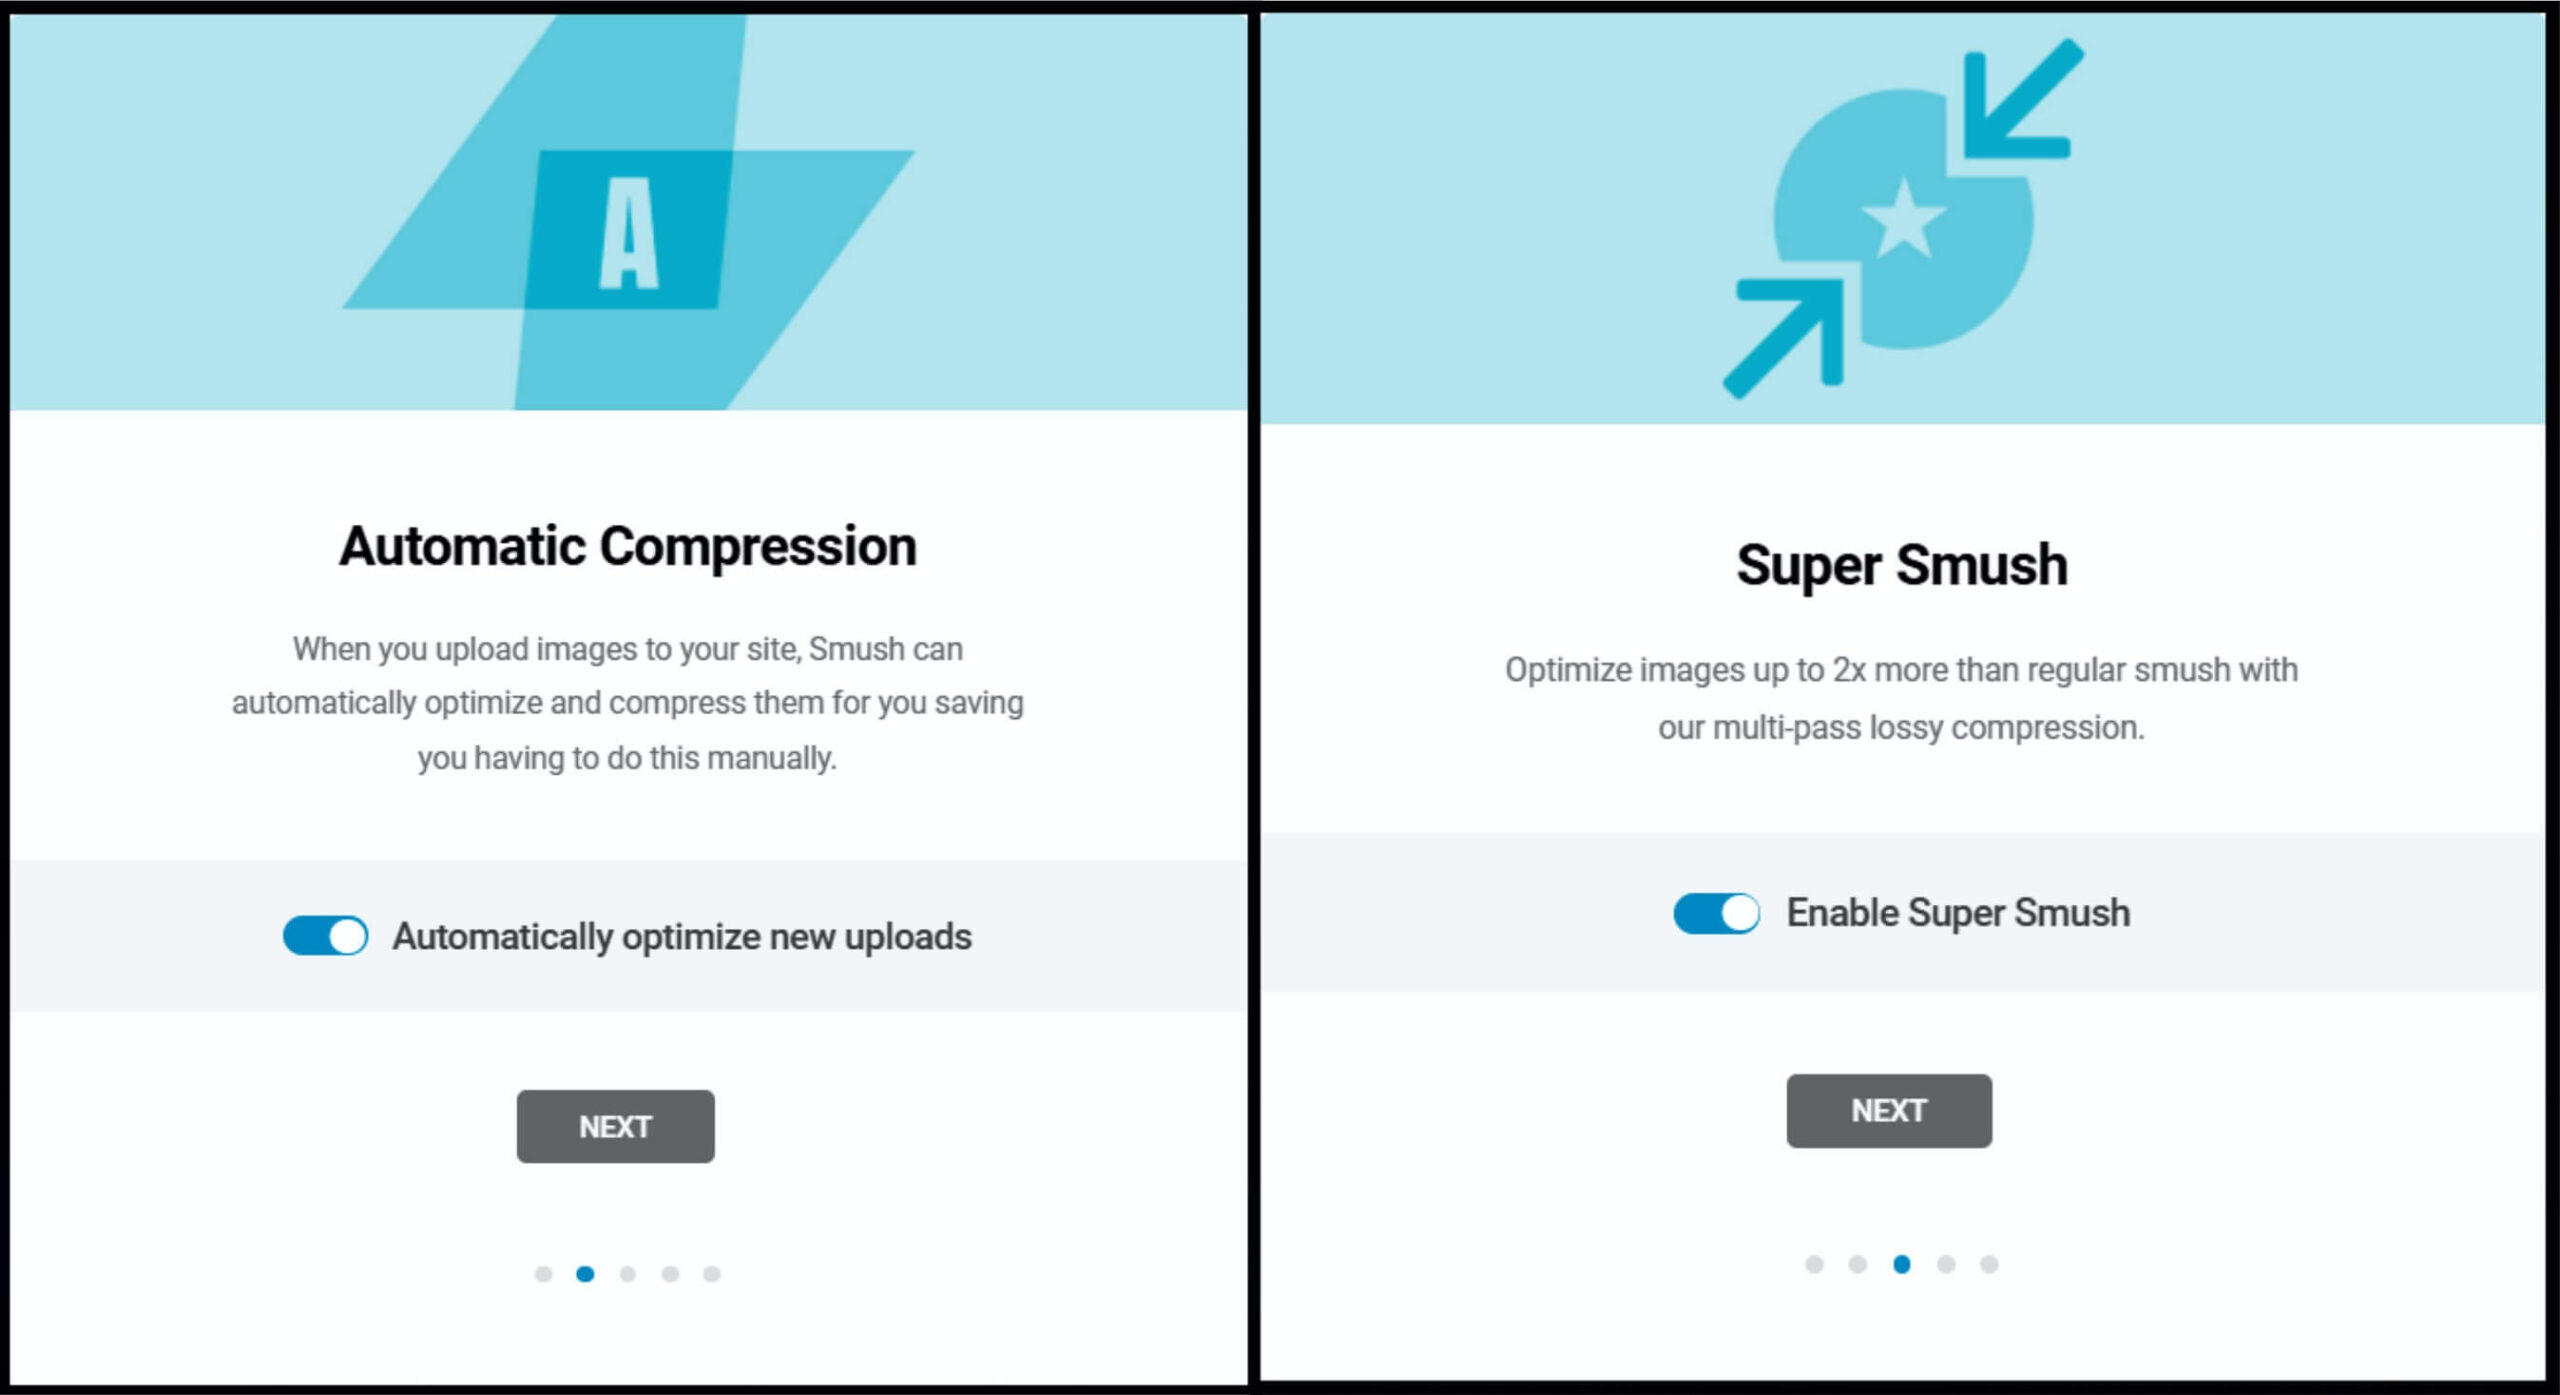
Next, you have the option to remove EXIF data, which is great for reducing file sizes further, and another option to Enable Lazy Load. Once you click Finish Setup Wizard, Smush will automatically start compressing the images already in your media library.
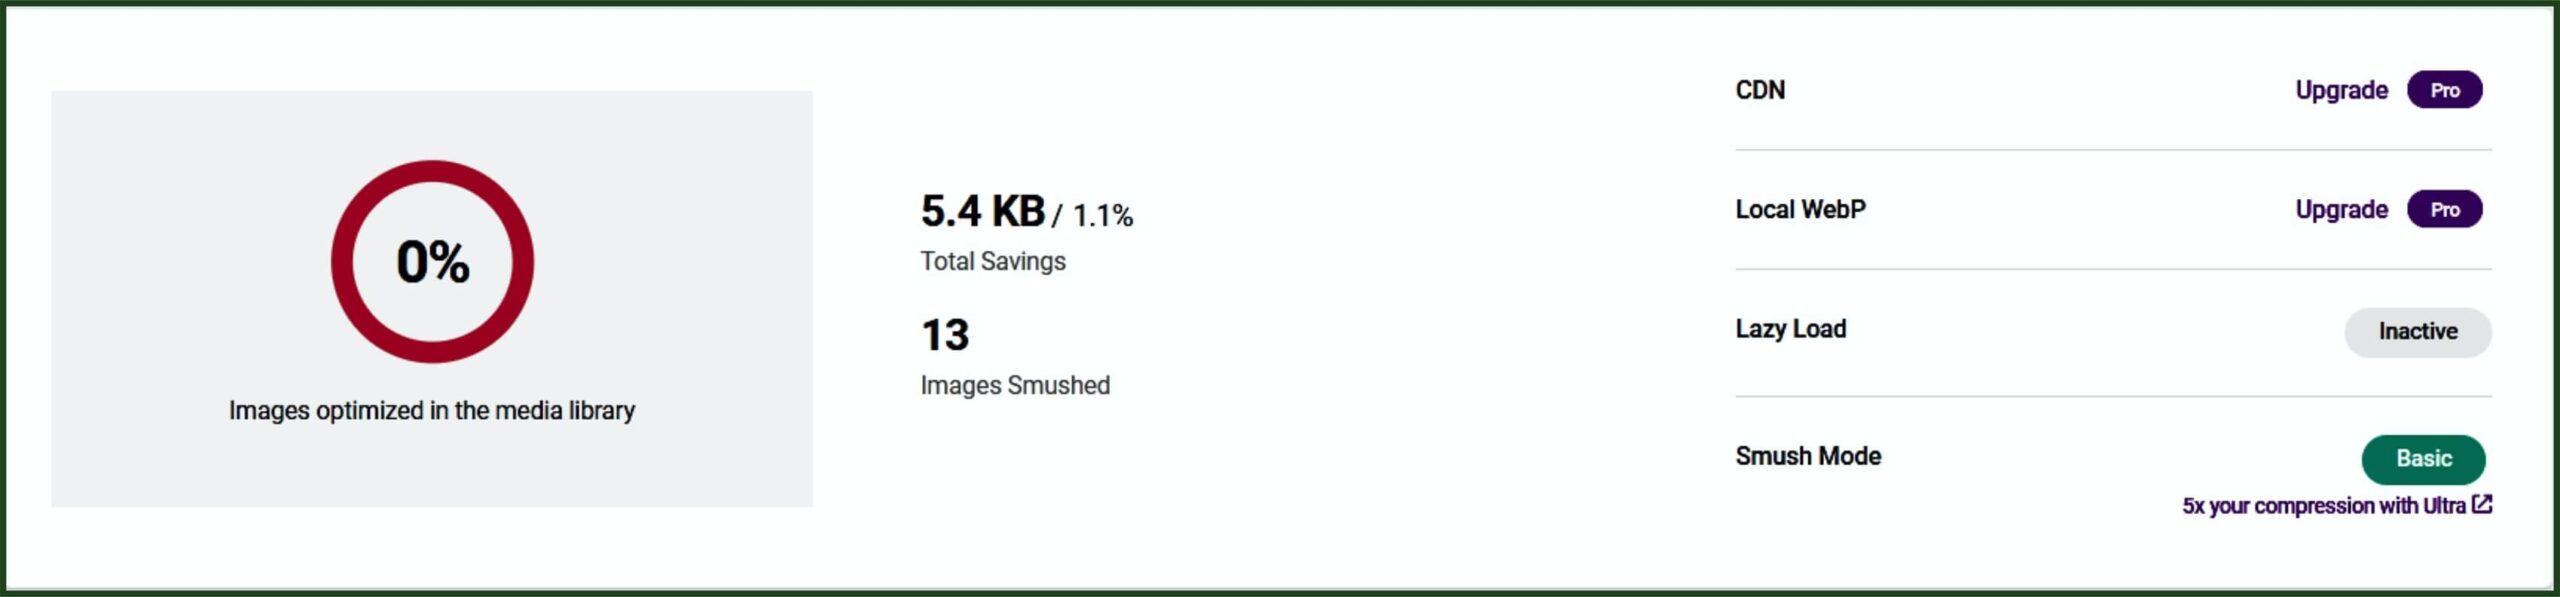
After completing the setup, you will be taken to the Smush dashboard. Here, you will see an overview of how many images have been optimized and the total savings in file size. This dashboard is an excellent way to monitor your progress and get more insights of faster your site is becoming.
Key Features of Smush
Smush comes with many features any one interested to optimize WordPress images effectively must have. Here’s little information about key capabilities:
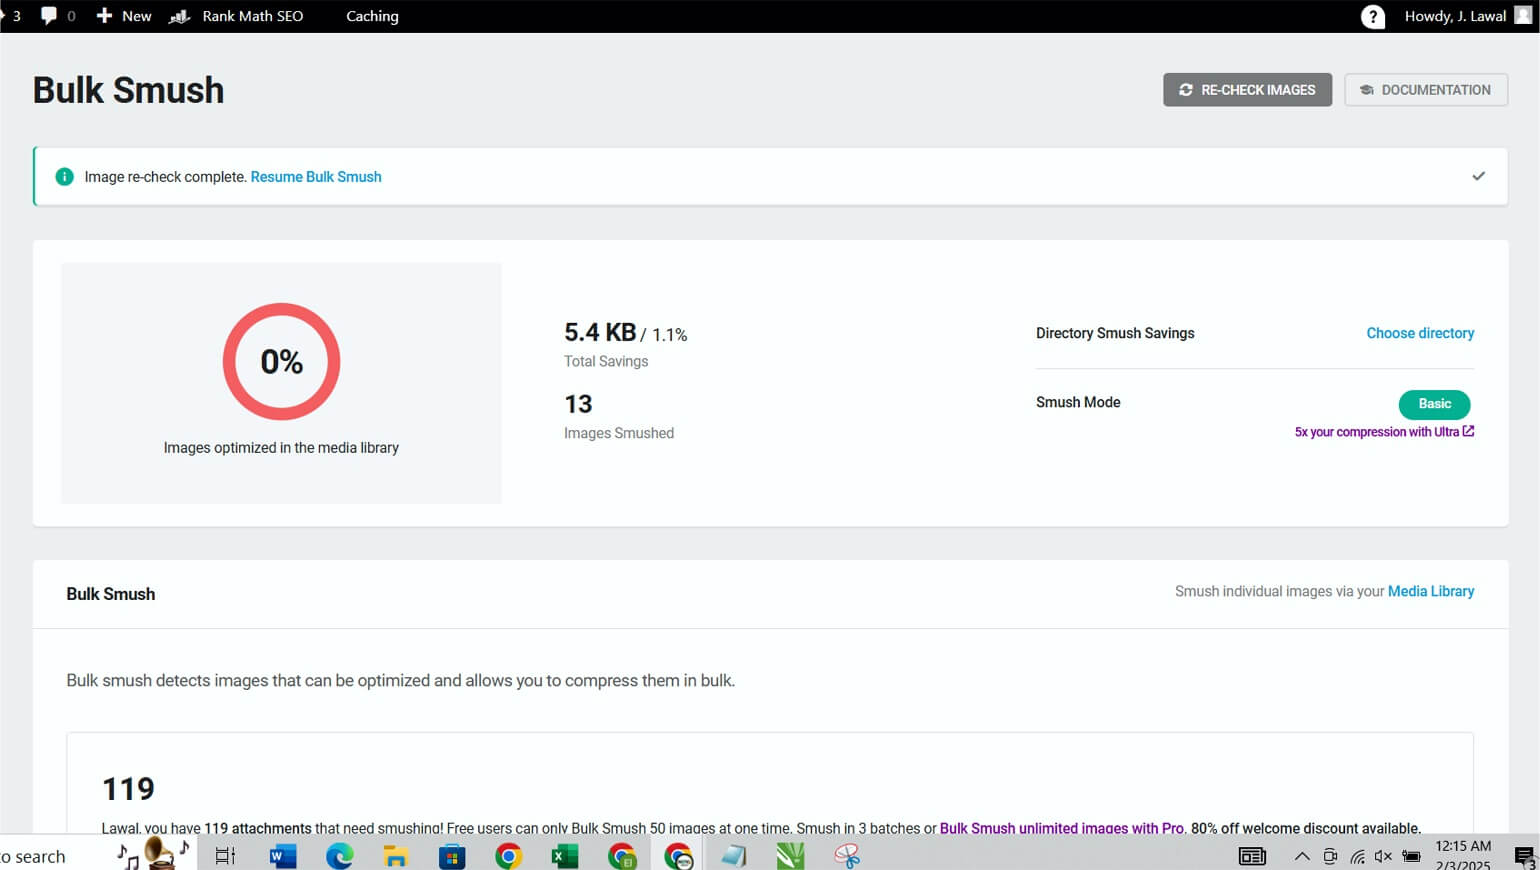
Bulk Smush
The heart of the plugin is its feature of Bulk Smush. With one button, your unoptimized photos in your collection can be compressed in bulk at one go. The feature comes in particularly useful in case you have been working with WordPress for long and have hundred, even thousand, of photos in your collection that have to be optimized. With Smush, your older photos don’t slow your site down!
Automatic Image Optimization on Upload
Once Smush is installed, any new photograph uploaded is optimized automatically. It’s a timesaver and keeps future photos in compliance with your site’s performance requirements. No more apprehensions about an image being too big and too bulky, it will take care of it in a jiffy!
Lazy Loading
This means that images below the fold (not immediately visible on the screen) are loaded only when the user scrolls down. This significantly improves page load times and reduces the initial load on your server.
Resizing and Scaling
Compression isn’t all Smush can manage; it can resize your photos, too. There’s a feature for specifying a maximum height and a maximum width, and any oversized photograph will then resize down when optimized. Delivering an photograph at a resolution larger than it actually must have, in fact, simply burns bandwidth and reduces your page loading performance.
Conversion to Next-Gen Formats
One of the best new additions (in the Pro version) is converting to next-gen picture types such as WebP. WebP photos have a much smaller file size when compared with JPEGs and PNGs but with high picture quality. Converting them can have an impact of loading times increased and SEO gain, two for one, right!
CDN Integration
For a performance boost added, Smush Pro integrates with CDNs. With a 123-point global CDN, your photos will serve off servers located near your visitors, and loading will be incredibly speedy regardless of your visitors’ locations in the world!
How to Optimize WordPress Images with Smush
Now that we’ve covered what Smush can do, let’s get into a detailed, actionable guide on how to optimize WordPress images with Smush.
However, it’s a smart move to first go through your media library and scan for pictures consuming unnecessarily high file space. There could be files with a file size range anywhere between a hundred kilobytes and several megabytes in file size. In most cases, such photos can have a file size reduced and compressed with no perceptible loss in picture quality.
Running Bulk Smush
Once you are ready, navigate to the Smush dashboard and click on Bulk Smush. In the free version, you might be limited to optimizing images in batches of 50, so if you have a huge media library, just be patient, cos it might take a few rounds to complete the process. However, the process runs in the background so you can even leave the page.
Monitoring the Process
The dashboard will update with the progress with Smush processing each picture. There’s an actual savings count in kilobytes, and it’s such a thrill!
Adjusting Smush Settings
Once having run through Bulk Smush, go through and inspect additional settings to make additional optimizations. For one, inspect the Incorrect Image Size Detection tool to expose photos that couldn’t be optimized for your theme in a proper manner. That tool will make smart recommendations for photos that can be reduced in dimensions in a manner best for your site’s ideal dimensions.
Optimizing New Uploads Automatically
Make certain that automatic picture optimization is On. That will cause any new picture uploaded to have an immediate Smush processing, saving your time and providing uniformity in your optimizations. That can be located under general settings in Smush dashboard.
Leveraging Lazy Loading
Go to settings for Lazy Load and Activate it, if not yet. That’s an optional feature for any site with many pictures, but it’s a necessity for any site with many picture-intensive pages. That loads pictures when and only when your visitor reaches them, and it can make a big impact in terms of loading times for picture-intensive pages.
Migrating to WebP
And for Smush Pro, don’t forget to enable that feature for converting your JPEG and PNG files over to efficient WebP format. Not only will that save additional file size, but it’ll make your site modern and state-of-the-art with its use of new-fangled picture types. Do make certain to try out your site in a variety of browsers to make certain that fall-backs work in a proper manner.
Advanced Smush Features for Pro Users
There are several cool advanced features just waiting for anyone who upgrades to Smush Pro to get the most from their image optimization.
One such feature is Background Optimization. With this, Smush processes your images in the background even after you close the plugin window. Pretty useful for those websites that come with a colossal media library. You can even receive email notifications when the process is complete so that you may not have to keep looking back.
Other good options include the CDN Integration, whereby Smush Pro lets you connect to the WPMU DEV’s CDN that delivers images from servers much closer to where your visitors are. This method reduces load times and offloads processing from your server, key to high-traffic sites.
Another great positive aspect is multi-site compatibility. In case you operate a few WordPress sites in one network, Smush can be configured to include global settings or be personalized per site. Such flexibility will definitely make this tool a preferred one for agencies and freelancers with multiple clients.
If you ever want to revert to the original images, Smush Pro has a Bulk Restore option. By enabling the backup setting before optimization, you ensure that your original, high-quality images are safely stored. Should you need them later, you can restore them with just one click.
FAQ
Does Smush replace my original images?
No, by default Smush compresses WordPress generated images (thumbnails and resized images) without removing your full-size originals. Smush Pro does allow you to enable an option to backup, so you can restore originals if needed.
Can Smush optimize images already uploaded to WordPress?
Of course! Bulk Smush enables you to compress images that already exist in your Media Library. A great way to get those older images file sizes down real quick.
How does auto-optimization on upload work?
Once enabled, Smush processes and compresses every new image uploaded. That way, your WordPress images will be optimized without having to take another step.
How does it handle resizing of the images?
Smush has an option to resize huge images by setting a maximum width and height. This helps in reducing unnecessary pixels, which again contributes to a faster page load.
Now, while Smush is outstanding, there are many other good plugins that optimize WordPress images available, including Imagify, EWWW Image Optimizer, ShortPixel, and reSmush.it. Of these, each plugin has some special features – one may fit a particular site’s needs better than another.
I use Smush personally because it has an easy interface and a powerful punch of features without overwhelming you. Of course, feel free to take a deeper look into these options if you’d like to compare performance vs. features for yourself. Check out this more in-depth review on WPBeginner.
Image optimization in WordPress is more than just a technical need; it’s a crucial approach to keeping your website fast, engaging, and SEO-friendly. Smush Plugin makes the work of optimizing WordPress images very easy, whether in bulk, automatically upon upload, or even with its advanced features like lazy loading and WebP conversion.
I have seen it for myself how optimized images can completely change a site’s performance. With faster load times, reduced bandwidth usage, and improved user satisfaction, the benefits are undeniable. You could achieve that leaner and quicker website standing out in search engine rankings just by following these steps and some of the powerful features of Smush.
If you haven’t already, I encourage you to install Smush today and see the difference for yourself. And remember, as great as Smush is, your website has different needs, so do what you feel works best for you.