
In this article, I’ll expose simply how to reduce image size without losing quality for WordPress, keeping your site speedy and SEO optimized and sharp in looks.
Table of Contents
ToggleFact: 53% of mobile visitors will leave a website when loading takes more than 3 seconds. And guess what tends to make it happen? Bloated images. Bloggers and companies work for several hours creating top-notch content, only to miss out on visitors in terms of unoptimized photos that slow down performance. Good thing is that you don’t have to sacrifice quality for speediness.
What is Image Optimization?
Optimising your picture files involves shrinking them in a way such that your site loads in a timely manner, yet no loss in terms of quality is experienced. There are two primary methods to consider
- Lossless Compression: With this, file size shrinks with no loss in terms of quality at all. How? By discarding unnecessary information in the picture.
- Lossy Compression: With this, file size shrinks at a loss in information in the picture, and in case not performed with care, sometimes at a loss in picture looks.
The key is balancing sharp looks and slender file sizes. For example, shrinking my site’s header image from 1.2MB to 220KB through lossless compression, reducing loading time by 50% yet not having my photos become pixelated in looks. That’s the beauty of getting it correct.
Why Optimize for WordPress?
Optimizing images is a good practice for numerous reasons. First, quick loading times will boost your search engine ranking and reduce your bounce rate. Next, a timely loading website creates happy visitors who will most likely utilize your site’s information. Finally, optimized images save bandwidth and reduce server loads. For a full review of how optimizing your images for SEO and for your visitors works, check out WPBeginner’s comprehensive guide!
Preparing Images Before Upload
My first part in preparing my images for upload in my WordPress site is to make them perfect. Having your images prepared in a proper format will allow file size minimizing with no loss in picture quality and keeps your site’s performance in tip-top shape. Having your format correct is important, not all file types for your images are the same. Here’s a quick rundown:
- JPEG: Best for photos with gradients.
- PNG: Best for use in a logo, or for an image with transparency.
- WebP: Google’s new format, its 30% smaller in file size with same picture quality.
Optimizing Images for Best Performance
Before even thinking about a picture’s upload, it’s a best practice to resize your picture according to your site’s theme’s requirements. I simply go through my theme’s container’s maximum width and resize my picture to that specific width and height. For example, if your blog layout is set to a width of 1200 pixels, there’s no need to upload an image that’s 4000 pixels wide.
I basically use CorelDraw which most of you guys are not familiar with but you can also use desktop applications like Adobe Photoshop or free alternatives like GIMP, I resize the images to match the exact dimensions needed. This simple step reduces the file size while maintaining a crisp appearance. If you’re not familiar with any of these tools, Canva is a user-friendly option that many WordPress users find very good for the job.
Export Settings for Keeping Quality
Exporting your photos with ideal settings is paramount. I use an 80-85 DPI setting for exporting my JPEG in CorelDraw. That’s a perfect setting for file size reduction with no loss in picture quality and with a good visual impact at the same time. I even save my photos in future-generation file types such as WebP, offering even more efficient compression. For curious newbies wanting to try out WebP, Google WebP page is a perfect starting point!
SEO Factors in Getting Pictures Ready
Don’t forget to optimize your image files for SEO! Rename your image files to include descriptive, keyword-rich names and always add alt tags that incorporate the focus keyword. For an instance, a file name such as “reduce-image-size-without-loss-of-quality.jpg” will make search engines understand your picture, and your SEO performance will receive a boost.
Techniques to Compress WordPress Images
Now that we’ve set the stage by preparing our images, let’s go through actual techniques that let you reduce image size without losing quality directly within WordPress.
Manually Compress and Resize Pictures
One of the easiest techniques to use for picture optimizing is to resize and compress them yourself in advance. With software such as , CorelDraw, Photoshop, GIMP, or even web software such as TinyPNG, you can modify your pictures with zero loss in quality. I must say, I use TinyPNG a lot for its simplicity and high output level of quality.
This is the first step to reduce image size without losing quality effectively.
Use Online Tools for Compressing
A range of web tools can bulk-optimize your pictures for your use. Software such as Squoosh offers an ease-to-use platform through which you can experiment with a range of settings for compression. With such tools, you can see a side-by-side view between your unprocessed and optimized picture, and make an educated decision about selecting an ideal level of compression.
Use WordPress Plugins for Auto-Optimization
The best technique, probably, is using WordPress plugins specifically designed for optimizing your pictures during upload. Some of my favorites include Smush, EWWW Image Optimizer, ShortPixel Image Optimizer, and reSmush.it. These plugins let you reduce image size without losing quality by applying advanced algorithms that balance quality and performance.
What I really love about these plugins is that they work in background, and I can just go ahead, create contents and then have them work for me. I like that even they have bulk options for optimizing your current photos, and with them, you can update your entire collection of media with little work involved.
Step-by-Step Tutorial: How to Optimize Pictures for WordPress
Now, let’s go technical with a step-by-step guid that shows exactly how to optimize your images in WordPress to reduce image size without losing quality.
Step 1: Audit Existing Pictures
Before optimizing, it’s useful to have a benchmark of where you stand first. I start with an audit of my collection of media with tools such as Imagify’s free analysis tool in an attempt to gauge current file dimensions and sizes of my photos. Doing this helps me gauge which photos have most work to be completed first.
Step 2: Resize Pictures to Fit Your Theme
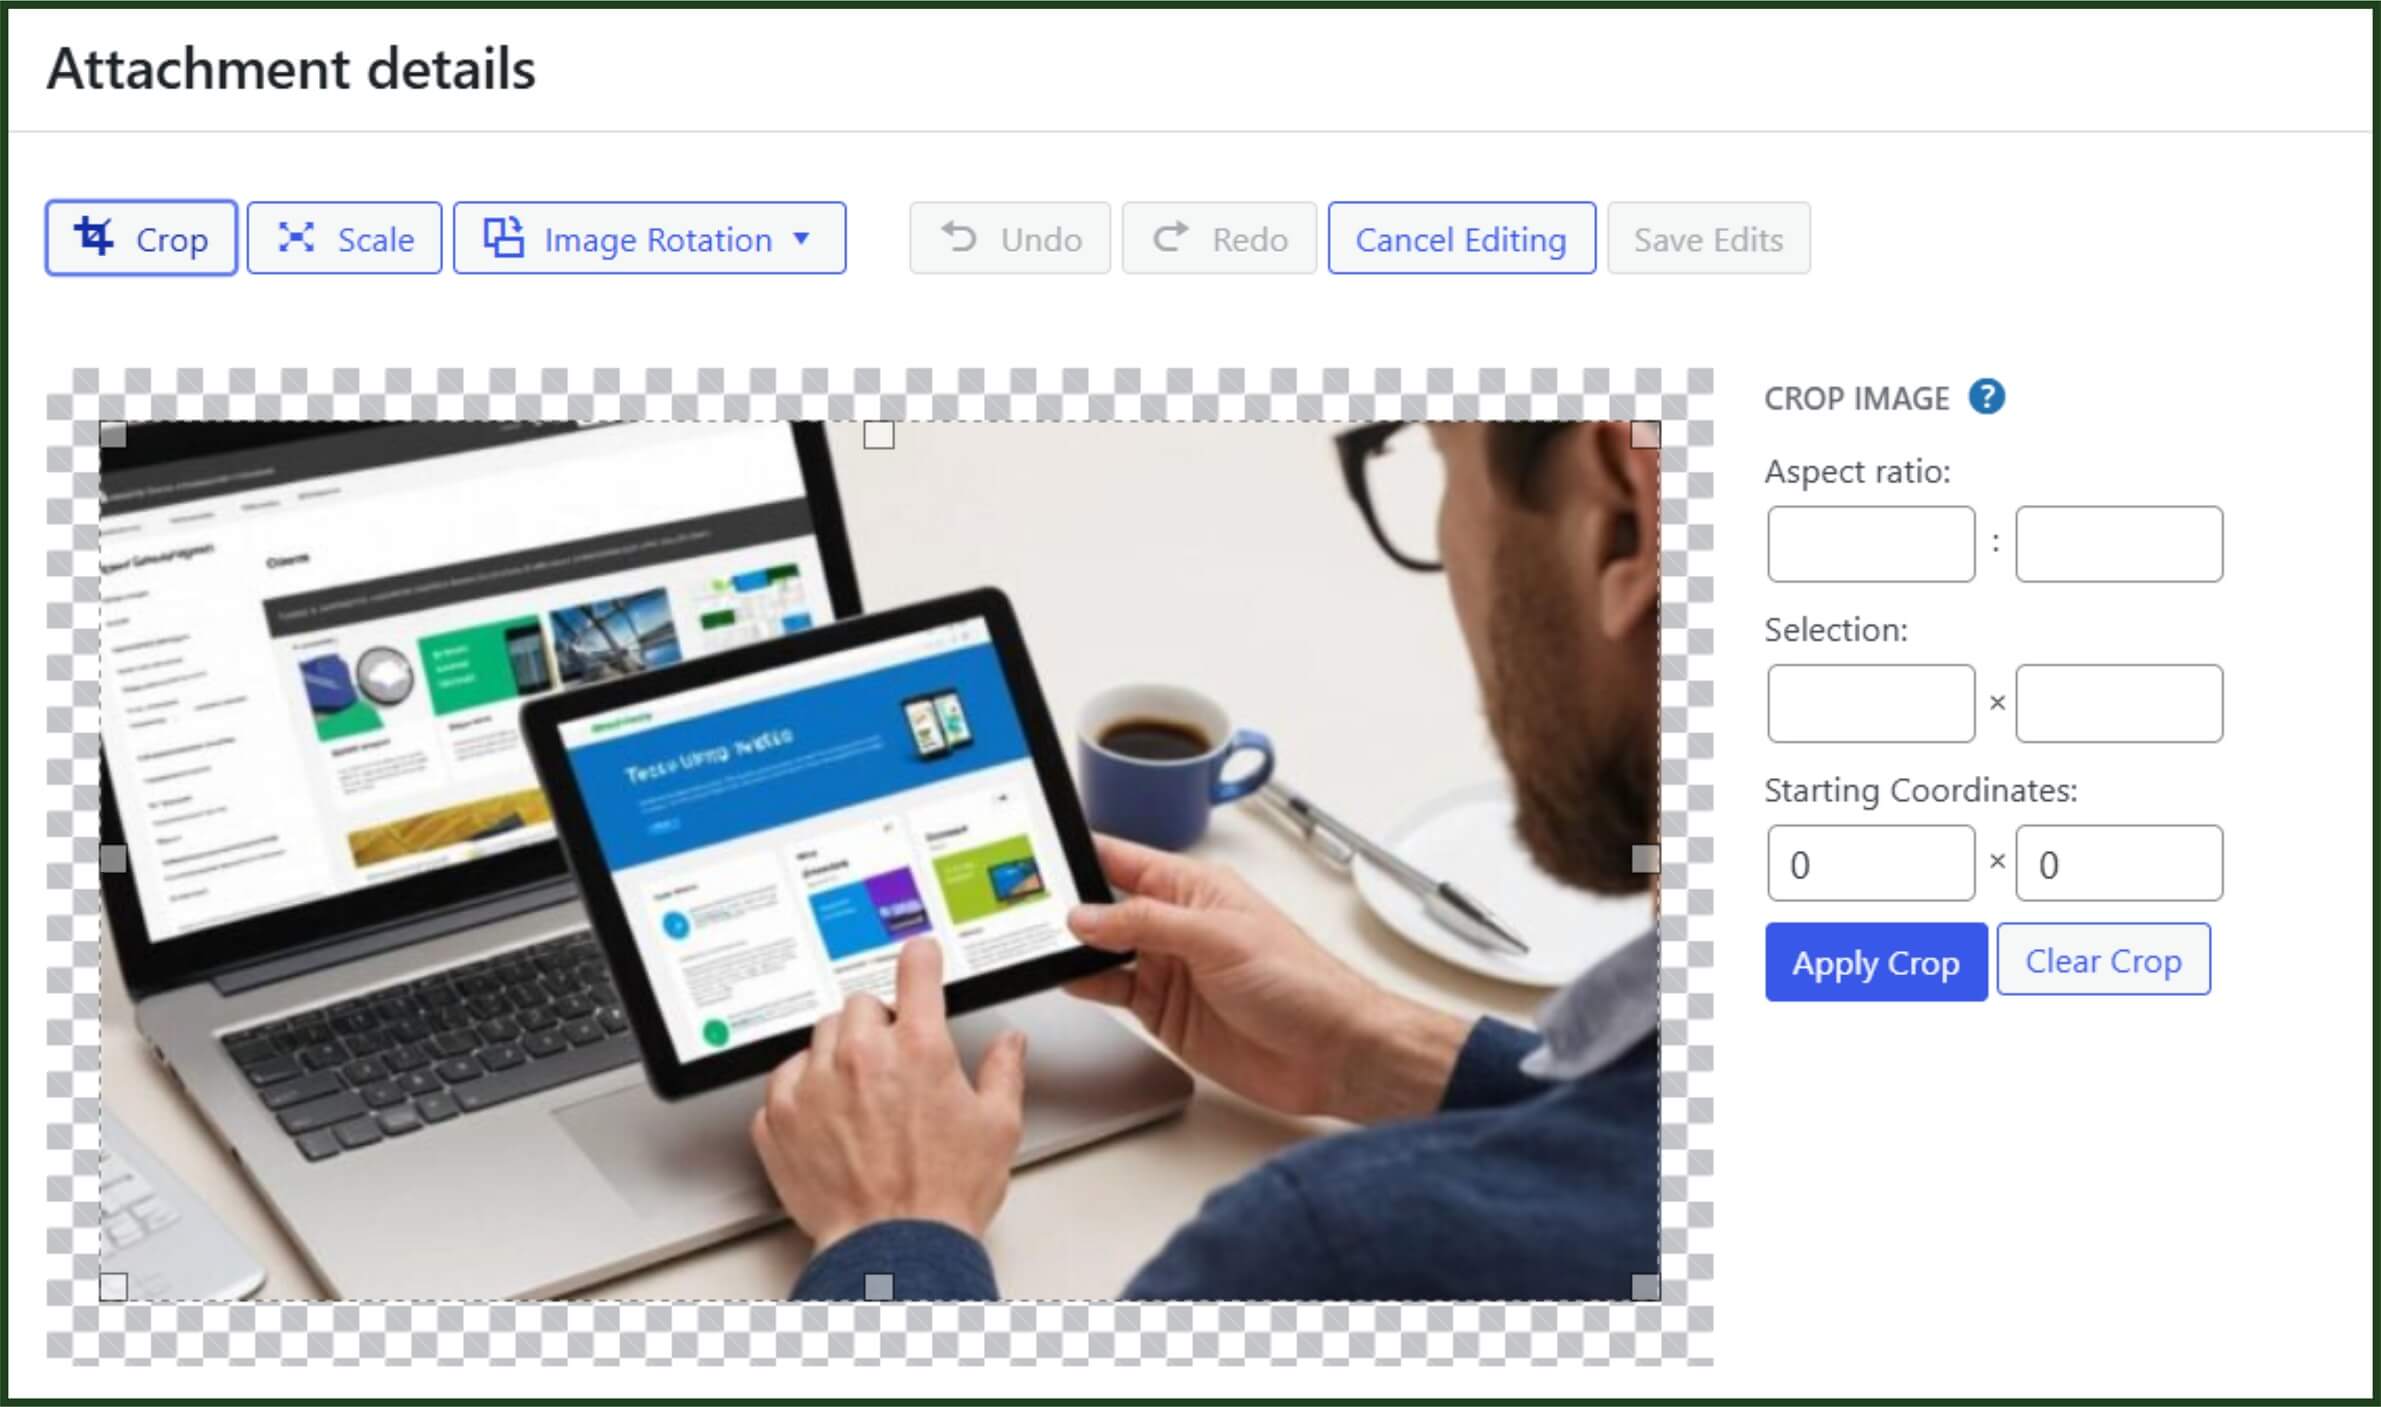
Once I have identified the photos I have to optimize, I resize them to have dimensions similar to that required for my WordPress theme. WordPress actually comes with a native picture editor that enables cropping, resize, and even picture rotating in your collection of media directly. For added controls, I, however, use external tools beforehand for upload. This ensures that when you reduce image size without losing quality, you’re starting with the perfect dimensions.
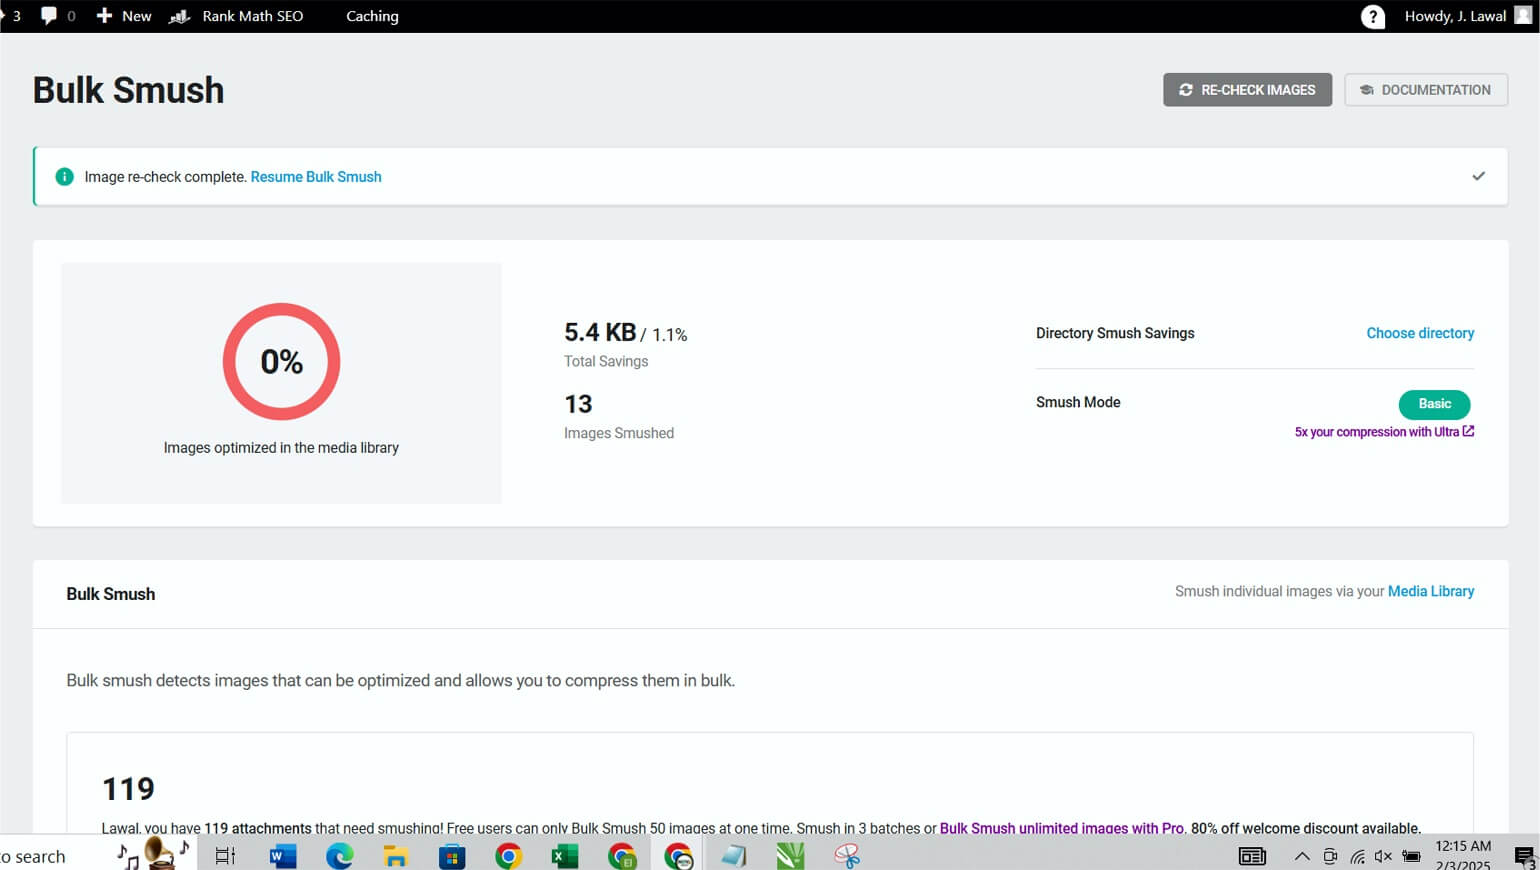
Step 3: Compress Pictures with a WordPress Plugin
With the images resized, it’s time to make them smaller. I install a reliable image optimization plugin such as Smush, adjust settings for lossless compression, and then let the plugin work its magic. The plugin processes images automatically when uploaded and even comes with a bulk-optimize feature for existing images.
I double-check settings to make sure I’m compressing images enough to make a perceptible gain in terms of speed but not at the expense of visual quality.
Step 4: Converting to Next-Generation Formats
Although JPEG and PNG are well-known, converting files to newer formats such as WebP can boost performance even further. WebP files are smaller and have a shorter loading time, with hardly any loss in quality at all. Most optimization plugins have a feature for converting files to WebP automatically.
Troubleshooting & Common Pitfalls
Even with the best strategies in place, you might occasionally run into issues when trying to reduce image size without losing quality. There are a few common mistakes and how to sidestep them:
Balancing Quality and File Size
Occasionally, one can become tempted to over-compress images, assuming that smaller file sizes will necessarily make for a snappier site. Over-compression, however, can cause loss in discernible quality. The key is to try out a range of settings and review in full view first. I often recommend doing A/B tests to see if the compressed image meets your standards.
Avoiding Plugin Conflicts
Using multiple plugins double-compresses your photos, a trap that can make your photos less sharp. Best to use one reliable plugin and use it consistently. And don’t forget to pay attention to updates and community feedback, cos a plugin that worked perfectly a year ago can become less perfect today.
Mobile & Retina Display Compatibility
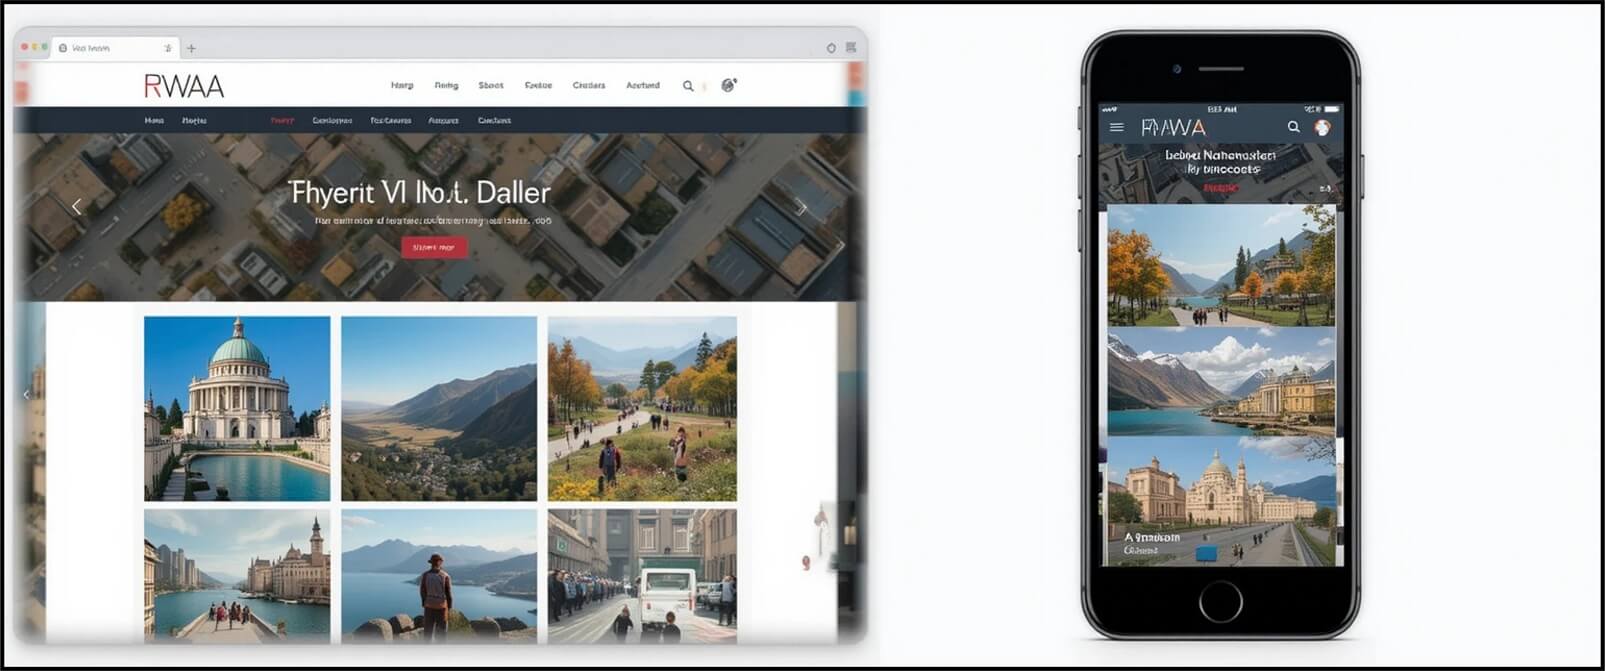
I make sure that my images are responsive and optimized for both desktop and mobile devices. Use Google PageSpeed Insights to assess how your images perform on various devices.
Absolutely not! Optimized images actually boost your SEO through increased page loading times. Just remember to use meaningful file names and alternative (alt) tags for your images.
Preview your compressed images at all times. In case of any distortions or blur, try fiddling with the quality settings. Employ a mix of lossless and lossy techniques till your perfect compromise is reached.
Most of your plugin options enable backing up your source files first, then compressing them. Thus, in case of a problem, your source file can be restored at any point in time.
Definitely! Converting your images to WebP can save a lot of file sizes with little loss in quality. This is a great step to reduce image size without losing quality and improve your website’s loading times.
In conclusion, remember that your work in optimizing your images doesn’t stop and is a key part of having a high-performance WordPress website. Techniques discussed in this post will enable you to minimize your image size and not sacrifice your website’s loading times and beauty, in addition to your SEO-friendliness.
I hope these tips have proven useful and that, like me, you’re energized about optimizing your site. Start experimenting today, and don’t forget to share about your experiences and any challenge encountered. After all, with each move towards shrinking your file size for your photos with no loss in picture quality, your site’s one move nearer to becoming a snappier, more efficient one!